One of the minor new features for Revit 2017 was the nuance of how pinning a tag works. In previous releases if a tag had been pinned it kept an individual from moving the tag but it moved along with the element it tagged. In 2017 when a tag is pinned it still keeps an individual from moving it, however it will stay in it’s given location as the element being tagged moves. Note: The leader only moves with the tagged component if the Leader is set to Attached End and not Free End.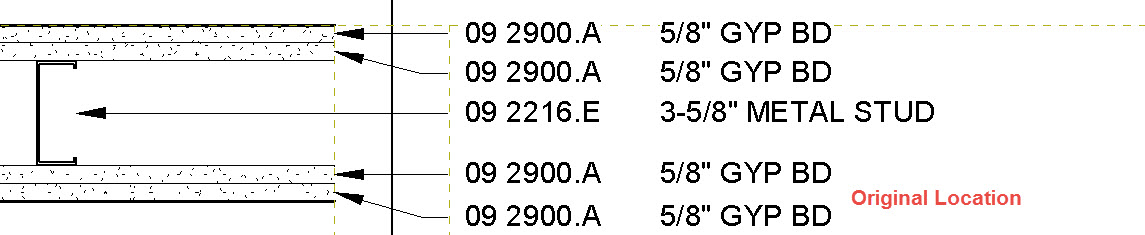

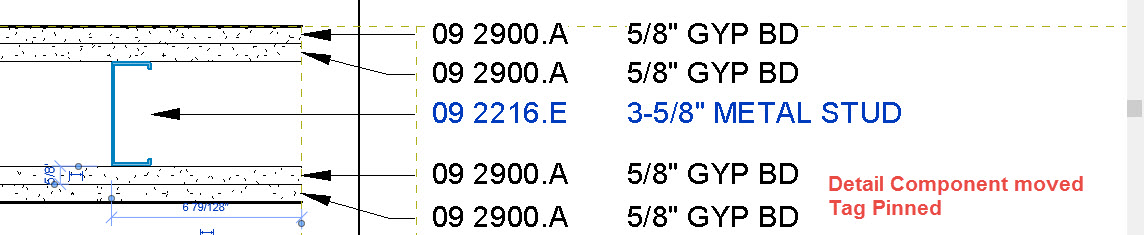
This is a very welcomed new feature, I have been an advocate of detailing using tags in lieu of text but was always frustrated that if a detail item changed the tagged would move and have to be realigned. No more wasting time with this menial task