In years past it has been easy to reset coordinates on a Revit file, simply link in a different Revit model and acquire coordinates from that model. Yet this changed in Revit 2017 and Steve Stafford has written an excellent article on the topic where you have to select “Do not share site of selected instance”. What happens when you have several Revit files linked to your project? I really don’t want to change that setting on 5, 10 , 25 instances of linked models. There is another way. If you link in a .dwg file and acquire coordinates from it, then you can go back and acquire the newly updated coordinates of the original Revit file.
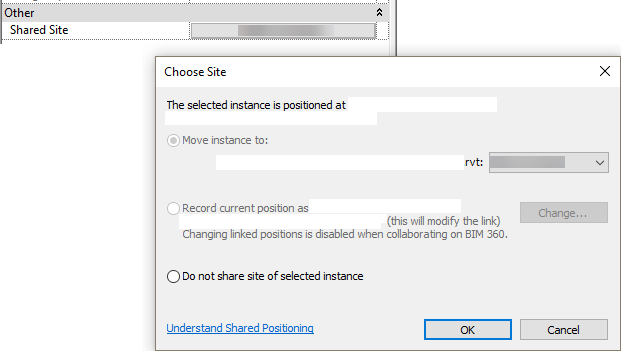
What happens when you have several Revit files linked to your project? I really don’t want to change that setting on 5, 10 , 25 instances of linked models. There is another way. If you link in a .dwg file and acquire coordinates from it, then you can go back and acquire the coordinates of the original Revit file.
In my opinion the first thing I do is create a new “Site” or shared coordinate setting. This way I can go back to the original setting if something goes wrong. To accomplish this go to the Manage tab>>Project Location panel>>Location command. In the Location Weather and Site dialog switch to the Site panel.
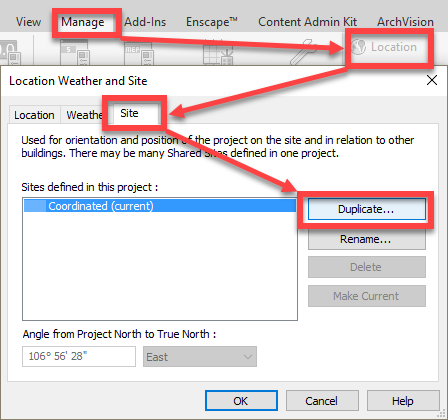
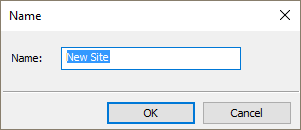
In the Name Dialog type in a new Site Name. Once a new name is created, select it and choose “Make Current” as seen in Image 2.
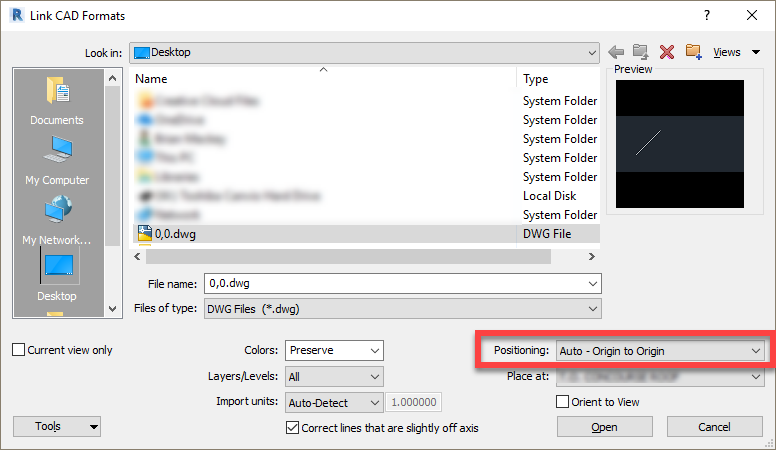
Once this is done then link in a .dwg file. For me this file has one single line drawn from 0,0,0 at an angle and is extremely long, such that it will reach past the extents of the modeled building. When linking this file I always select Origin to Origin as my placement setting.
Once the .dwg file has been successfully loaded, coordinates may be acquired from this file to “Reset” the internal coordinates. To accomplish this go to the Manage tab>>Project Location panel>>Coordinates drop Down Acquire Coordinates. Once this command has been selected you must select the .dwg file in the view.

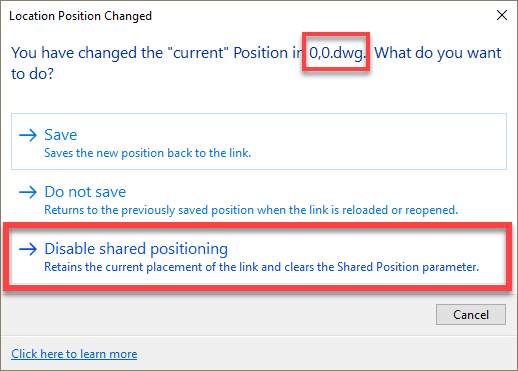
Once the coordinates have been acquired from the .dwg you may now acquire coordinates from the linked Revit file. If your Revit file is a cloud version (BIM360 Team or Docs) then you will have to do one of the following: either remove the linked .dwg file under manage links, or save the project (not synchronize) and when the Location Position Changed dialog box appears be sure to select Disable shared position
If everything seems to be successful I would suggest going back and removing the old Site as seen in Image 2 above.
If you are on a project that has several Revit files linked into it, and all of those files have updated the coordinates to match then each file will have to be selected and in the Choose Site dialog (see Image 1), the “Move instance to:” value should be changed to match the newly named site. If everything has been done correctly then all of the models should adjust accordingly.
