Category Archives: Platform

Revit Schedules Conditional Formatting

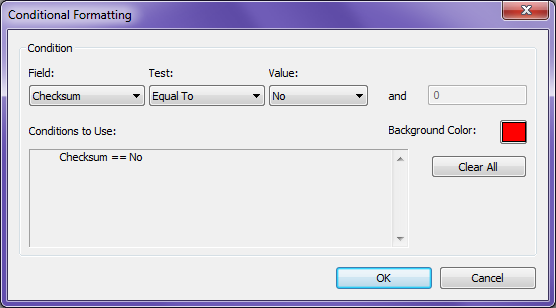
I am a big proponent of using schedules, anyone who knows me has seen me geek out on them.  I also like to use conditional formatting inside of them to help me verify my information is correct.  I did however find a nice bug that came up inside Revit 2013 when using conditional formatting.  In previous releases a conditional format could be used to change the color of another cell, this is where the bug comes in, in 2013 they can only change the color of their own cell.

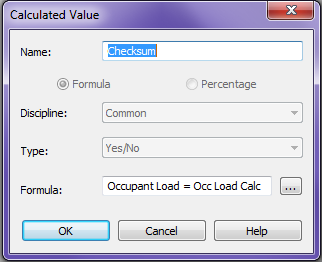
When trying to check to see if one column is the same as another column I use a Yes/No calculated value to display if the columns match.  This can be done numerous ways this is just the method I prefer.

This way I get a nice Yes or No value in the column line.  Then I can use this value to conditionally format a column(s) to change colors to graphically display if the values match or not.

Which displays the schedule like this…

In 2013 the conditional formatting only works on the cell itself.  In the above picture I am using the Checksum column to change the color of the Occupant Load column, this was done in 2012.  It will upgrade from 2012 and display correctly in 2013, however this can not be done if creating it from scratch.  Autodesk has confirmed this issue and hopefully we will see it fixed in the a future upgrade.  I thought others should be aware of this since I fought with it for an hour before I realized it was a bug…

Plan View Types update

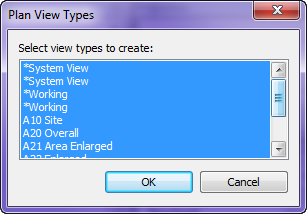
In a previous post I talked about the new feature in 2013 for Plan View Types, and how they can be duplicated.  I also spoke about the fact that when creating a new Level in Revit 2013 it will generate Structural plans as well, I would like to update this notion a little bit.  When a user creates a new Level it will not only add a Structural plan but any plan type that is in the project, this includes Ceiling Plans as well.  If you decide to update your template and take advantage of this new feature you might want to add Ceiling or Floor to the name.  As you can see I didn’t and now it is hard to know am I creating a floor plan or ceiling plan.

Oh and if Autodesk is reading this will you allow this dialog box to be adjustable.  I am just getting started and I already have a decent sized scroll bar.

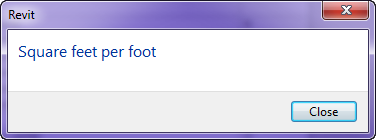
Square feet per foot dialog

I was creating a schedule key today for and abbreviation list, when this dialog box popped up. 

Can I ask what this dialog box means and why it came up when I was in a text value in a schedule key.  I love Revit warning some times, they are just puzzling.  I think the programmers but them there to make us ponder and laugh during our busy days.

Detailing- Guide Grid

In Revit I sometimes see users having difficulties or just complaining about detailing, either over the model or standard details, and knowing where and how large of an area they have to detail in.  In my last web-cast Detailing in Revit Part 1 I used a family that I have had for years and it sparked a lot of intrigue.  I thought I would discuss how it was created and the benefits of the family.

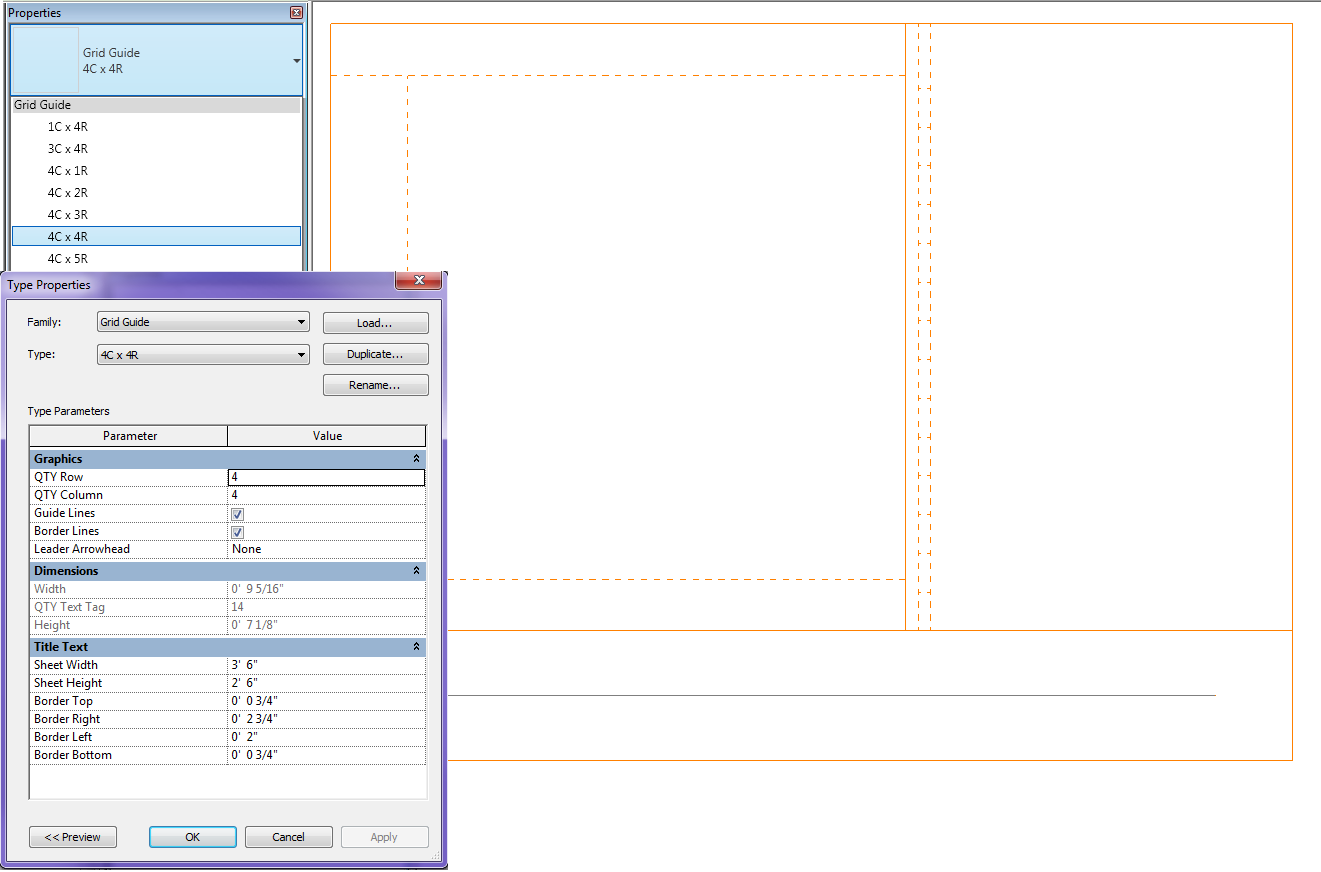
My family is called Guide Grid.rfa and it is used to see the available space for detailing in a view.  This family is created as a generic annotation family so it will scale itself as the scale changes.  It is completely adjustable for titleblock or sheet size per project.  This value may have to be adjusted on a project by project basis, assuming the title blocks are always consitent.  There are also types in the family so a user can decide if they are working with 4columns wide by 4rows high etc.  The size of the box is determined by the sheet size and the row/column quantity.  Once the correct family type is placed in a view the user now knows exactly where to detail and if it is a live view how large to make the crop region.  When it comes time to print just open the type properties of the family and un-check the lines so that there isn’t any orange lines when printing.  Please download the family and let me know how well it works for your company.

Revit 2013 – Override in View By Category

This is a follow-up, or an expansion on our earlier post on this same topic.

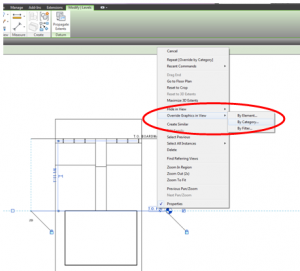
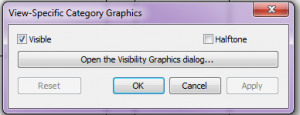
As noted before, a handy new undocumented feature in Revit 2013 is that selecting an element, right-clicking, and navigating to Override Graphics in View>>By Category no longer simply opens Visibility Graphics. Instead, a new dialog box appears.


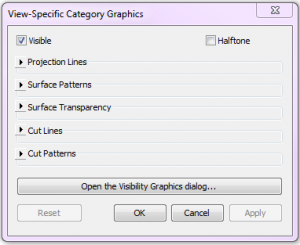
 Depending on which element was selected, and what visibility settings are available, different options appear in the dialog box.

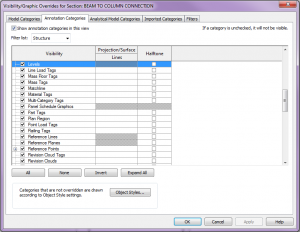
This dialog box is handy for a couple reasons.  First, any overrides assigned within the dialog box will apply to the Visibility Graphics.  Next time the Visibility Graphics window is opened, the overrides will be there.  And second, if one prefers to just go to the VG window, the handy “Open the Visibility Graphics dialog…” will not only open VG’s, but it will automatically navigate to the selected category – super convenient.  The screen shot below shows the state of the VG dialog box when a level was selected and the “Open the Visibility Graphics dialog…” button was clicked.