This is an excerpt from an article that I wrote for AUGIWorld.
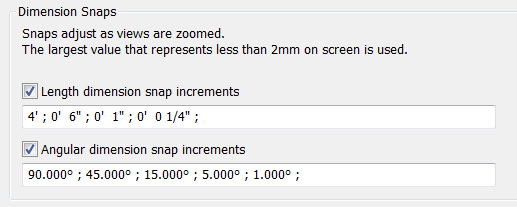
If a new Revit user is an AutoCAD veteran, one piece of good news is that the object snaps are greatly similar from one program to the other; it is just a matter learning what snap options are available in Revit, where to find all of them, and when they are particularly useful. Tutorial literature likely points out the snaps options dialog box, found on the Manage Tab, which provides much useful information. What a newer user might not know, or might forget to use, are the two-key shortcuts for snaps and the snaps overrides. To use a particular snap, type its two-key shortcut while drawing an element (the shortcuts are shown in parentheses in the aforementioned dialog box). For a particularly useful application of the two-key snap shortcuts, try using the snap centers shortcut to rotate about the base point of an element with a very large radius. To temporarily turn snaps on or off, right click while drawing an element to find the snaps override options. These tools are well known for users of other programs, but are forgotten when working in Revit.


