Monthly Archives: August 2012

Framing Orientation

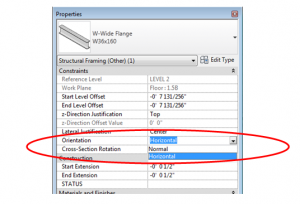
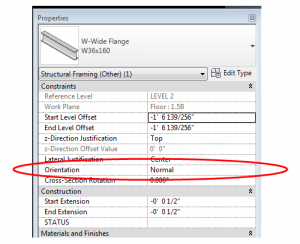
This is one of those Revit basics that has been forgotten, or perhaps never learned.  In the instance parameters for structural framing members, there is a parameter called “Orientation”.

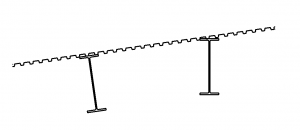
The framing member is only affected by this property if it was modeled on a sloped work plane.

The default orientation is normal – normal to the work plane.
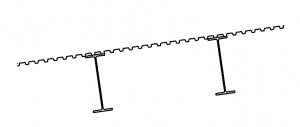
If the orientation is changed to horizontal, the beam will rotate such that the flanges are horizontal.

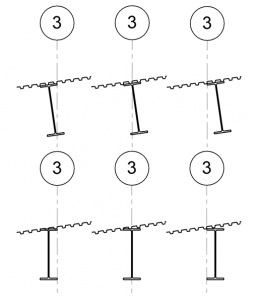
One item of note is that the rotation point is at the intersection of the top of the beam and the lateral justification (Side 1, Center, or Side 2), so if perfect accuracy is required, the beam may have to be shifted down.  The screen shot below shows how the different combinations of a horizontal orientation interacts with the Lateral Justification.

 

Revit 2013 – Override in View By Category

This is a follow-up, or an expansion on our earlier post on this same topic.

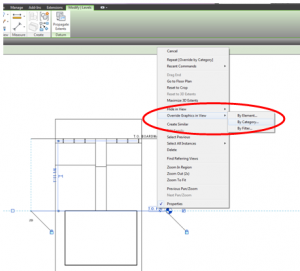
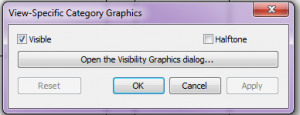
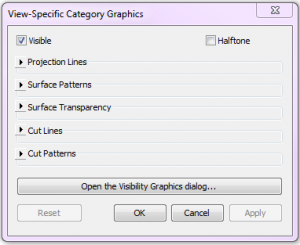
As noted before, a handy new undocumented feature in Revit 2013 is that selecting an element, right-clicking, and navigating to Override Graphics in View>>By Category no longer simply opens Visibility Graphics. Instead, a new dialog box appears.


 Depending on which element was selected, and what visibility settings are available, different options appear in the dialog box.

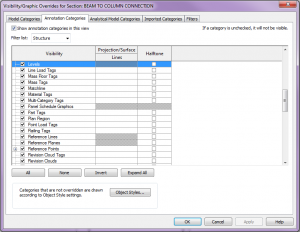
This dialog box is handy for a couple reasons.  First, any overrides assigned within the dialog box will apply to the Visibility Graphics.  Next time the Visibility Graphics window is opened, the overrides will be there.  And second, if one prefers to just go to the VG window, the handy “Open the Visibility Graphics dialog…” will not only open VG’s, but it will automatically navigate to the selected category – super convenient.  The screen shot below shows the state of the VG dialog box when a level was selected and the “Open the Visibility Graphics dialog…” button was clicked.