I thought it would be fun to create a simple radio tower for Revit Radio and in doing this I figured the Structure Generator preview from Autodesk Labs would be a good tool to try out. The Structure Generator is a preview tool for both Revit Architecture and Structure that allows structural components to be generated in a project from conceptual masses. Here is the official quote from Labs…
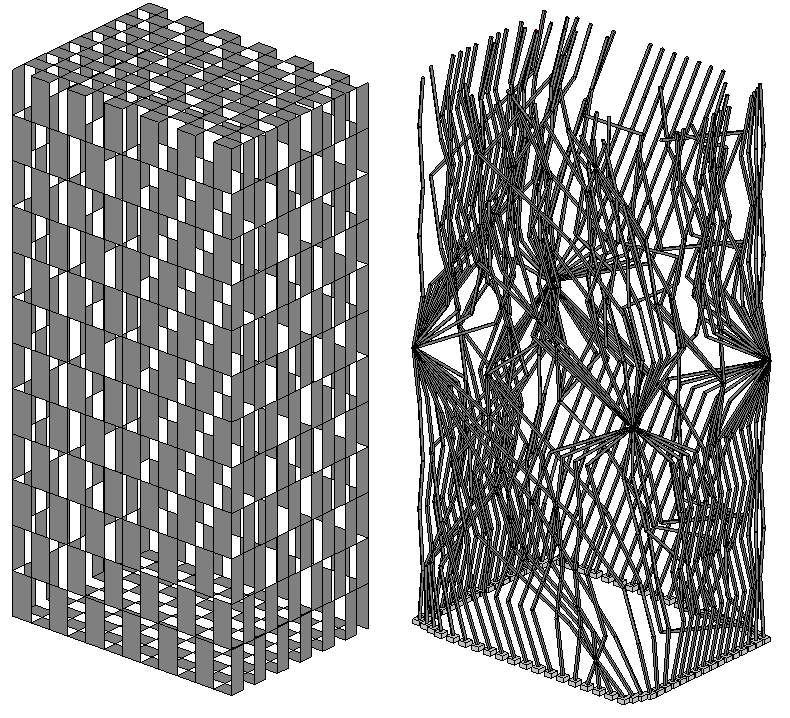
“Project Structure Generator for Autodesk® Revit® Structure and Autodesk® Revit® Architecture software is a free* technology preview that provides a connection between massing models and objects created during conceptual design and structural elements such as beams, column, walls, plates. With Project Structure Generator, structural engineers and architects, from the earliest stages, can very quickly create and visualize a physical and analytical model of a structure based on the massing model.”It was a bit rough of a go around just jumping into the program but once the help file it brought up it helps describe the processes to get this tool to work. I first started off with a tall box and ran the tool using all the default settings. I always like to start a tool with the default setting to see how well it works before I start breaking it. This was not that successful, Dezi asked why I was modeling a paper bag?
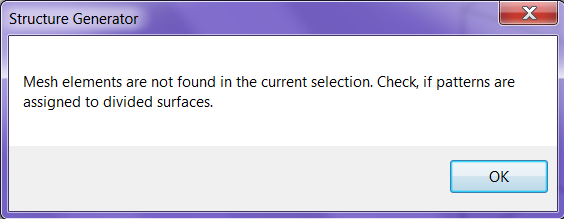
Although this was very artsy looking it wasn’t that structural since it was only concrete columns and footings. I thought I should dig a bit more into the actual tool and I decided that I will walk through the steps I took to generate a simple tower. Although it was nice there is a video to watch on the tool it really didn’t help much, this is when I opened the help file. The help is pretty good about describing all the different parts of the interface inside the dialog and brief descriptions on how to use them. The one thing the help file isn’t that clear on is how the mass itself has to be defined. It does state that the mass can NOT be an in-place mass but an external mass family. That was easy but once I loaded and placed the family the tool kept giving me the error…
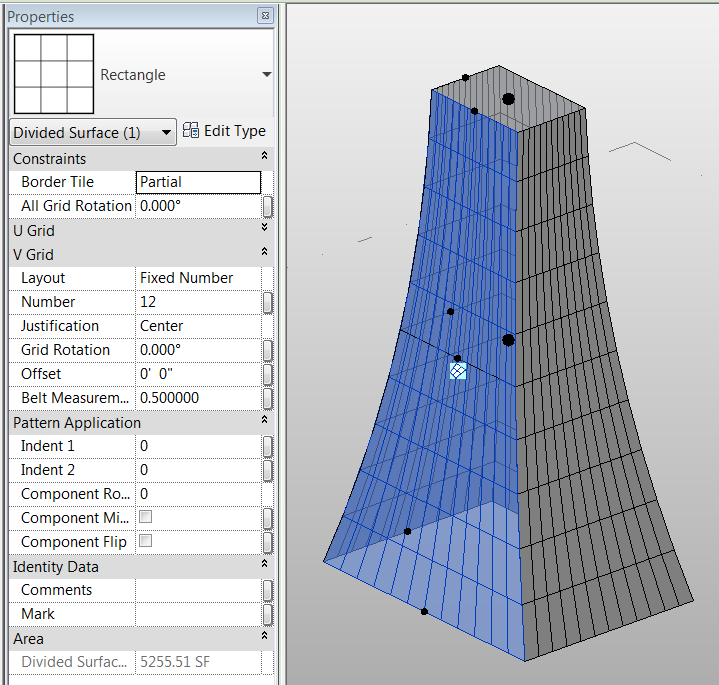
In the mass family I went back and divided the surfaces of the mass and reloaded it, same error again. This time I actually read the error and realized it had the word patterns, in the mass family I then added the Rectangular Checkerboard pattern and loaded it. This is when I got the paper bag building, but at least the file worked. I then went back and changed the pattern to rectangular reloaded it and ran the generator tool again, this time it worked nicely. Now with a handle on the program I decided to create a mass that was a bit more complicated then a box so I created a radio tower mass, divided the surfaces and set the pattern to rectangle and loaded that into a project.
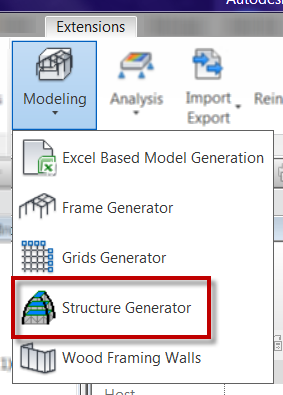
Once loaded I as able to run the Structural Generator located under Extensions Tab >> Modeling drop down…
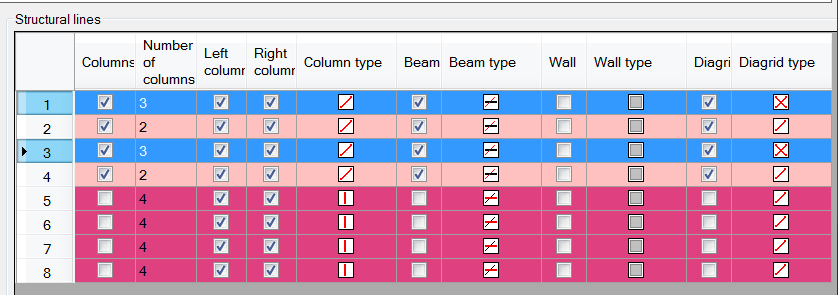
After reading the help file I thought I would dive into it understanding the Structural lines part of the interface and how it works. This is where I started with the tower. The rows represent the faces of the mass and when selected they will highlight in the view above. The first 5 columns in the dialog box have to deal with structural columns, the next 2 beams… In all of the option there is a type column, this is where the setting is made for the modeling aspect of the element, sloped column, continuous column etc. This was one of the more critical options I missed in my first few attempts.
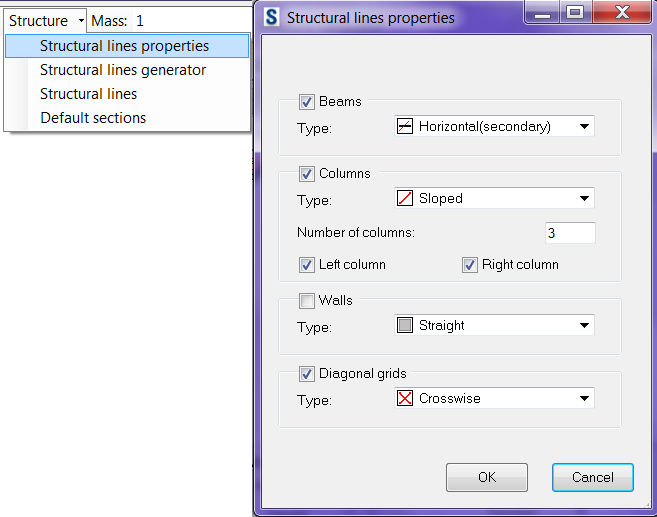
The one tip I did learn from the help file was how to change multiple rows at one time (as seen above) then click on the Structure drop down, located above the graphical viewing area, then select Structural lines properties. The image above is what I finally ended up with for my settings.
What wasn’t obvious for me is what types of structural members are going to be use. Every time I ran this utility it gave me concrete members, yes I could have selected all instances and changed them but I was sure there was a setting for this. The dialog box is located just above the graphical viewer area (see image below). The following dialog box that opens will allow for the selection of member types and sizes. I will say this is one of my complaints about the program, it will generate a new family from the selections in this dialog, I haven’t found a way to use existing families that are loaded into Revit.
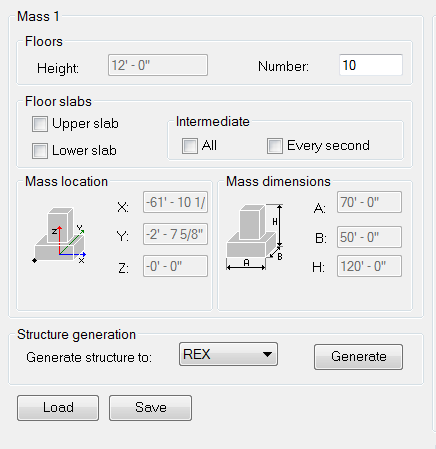
Only floors are left and not part of any of the above mentioned dialogs. Floors can be placed at the top or bottom of the mass or by defining a number of floors and if they are on every level or skipping a level. In my option I did not add any floors.
One tool that was beneficial to me was the fact that the elements can be Generated in multiple ways, inside the Structure Generator (REX) inside of Robot or Revit. I kept hitting Generate and setting the option to REX and this allowed me to see the updates the graphic viewing area. Once I had what I wanted I generated the elements inside of Revit.
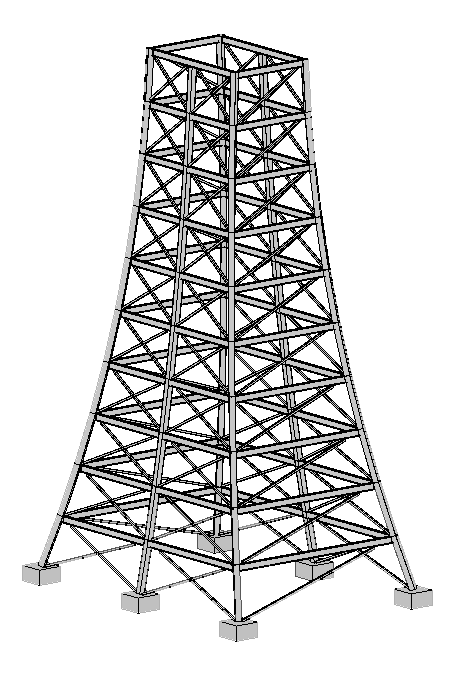
Look for this image, or one similar to it, in future Revit Radio broadcasts.

