Tag Archives: Walls

Stacked Walls and Design Options

A client was having an issue working with design options and stacked walls the other day.  When the stacked wall was selected it wouldn’t allow it to become part of a design option.  I started an new file and had the same issue as he was having, however when I went to do it again for this post the issue didn’t happen again, then I realized it had been changed in Revit 2013.  I thought I should post it anyway in case this issue does happen for others still using 2012.

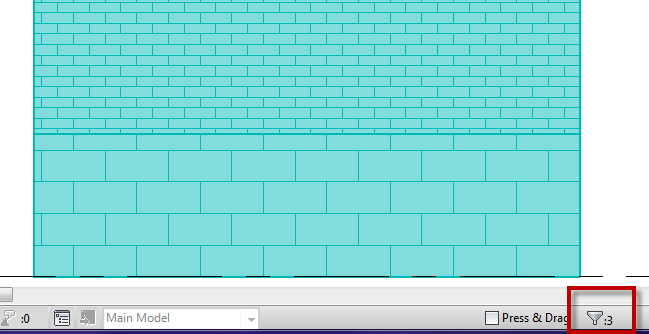
As with any element if the host is going to be apart of the design option then anything hosted to it must be part of that same option.  For instance all doors and windows hosted in a wall must be part of the same design option the wall is in.  Stacked walls are the same, each wall type that make up the stacked wall are hosted to the stacked wall (at least we will say that for this situation), so the stacked wall and all of the individual wall types that make up the stack must be selected in order to become part of a design option.  For this to happen the “Tab” key will need to be used to select the individual wall types.

In Revit 2013 they improved on the entire selection process for adding elements to design options.  Most notably if you select a host element now everything associated with that element will become part of the design option.  No longer do we have to select all the doors, windows, etc they just go.  HUGE improvement for working with design options in my opinion.

Autodesk Subscription Advantages

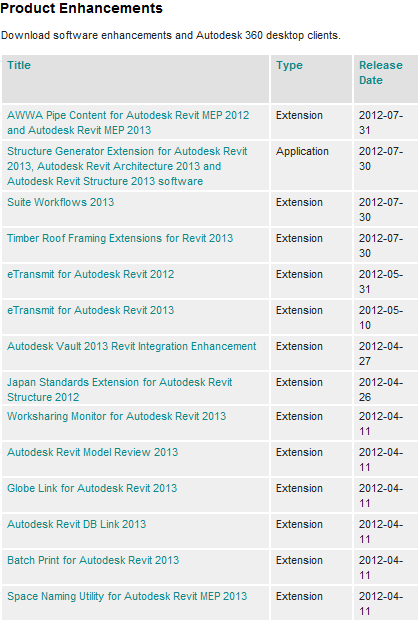
I don’t want to sound like a salesperson here but I think the Autodesk Subscription benefits are easily overlooked by most users.  Usually I go to a firm and only the IT, CAD or BIM Manager even have rights to the companies subscription benefits.  Plus not many users even know what additions are available.  I thought I would write a little post to remind everyone to check them out and to mention a couple of my most used.  As you can see in the image below there are quite a few applications and extensions that are available, (I would like to make a note that they all depend on the software you have on subscription) heck by the time you read this I will bet there are already more they have released.  One of my most commonly used one is the eTransmit for Revit, formerly an Autodesk Lab tool it has been promoted to a subscription benefit.  This tool allows a user to copy a Revit model and dependant files to  a single folder location.  This way when the files is needed for the BIM team it copies the Host file and all linked files to a location, it also marks the Revit Model as transmitted and forces the end user to open it and create it as a new central file, assuming worksharing has been enabled.  I had been using the Structure Generator when it was a Lab tool and I can’t wait to play with it now that it has graduated to a subscription tool.  Take a look at some of the tools and let me know which ones you are using the most.

Wall location lines

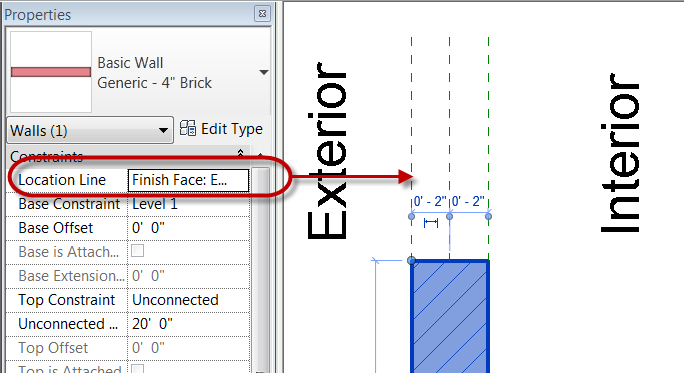
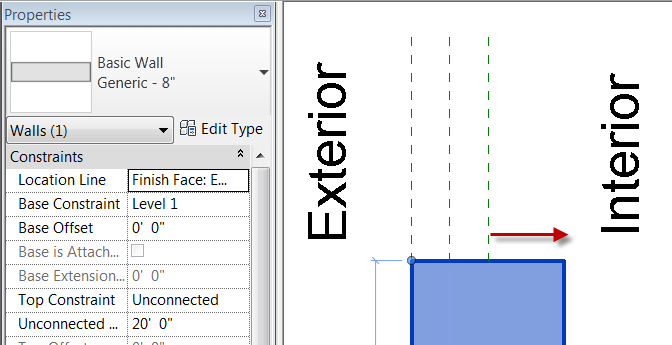
So a post over at Linked In today got me thinking about walls.  When I have clients start off a project they usually start with some sort of generic wall type, then as the project develops the walls get changed out to be something a bit more specific.  Not everyone knows that when a wall type is changed it looks to the location line to know where to adjust from.  So if you change a wall and its’ location line is Wall Centerline then it will grow or shrink equally on each side, if the location line is Finish Face Exterior then it will grow completely to the inside.

When changing the exterior walls that need to grow to the inside. Select all the walls that need changing and change the location line appropriately.  This way it isn’t a crap shoot to find out if they moved in, out or equally.  When changing  all of one wall type, use the “Select All Instances >> In Entire Project” tool to speed up the process.