This is an excerpt from an article that I wrote for AUGIWorld.
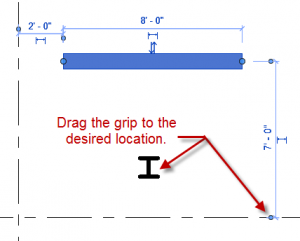
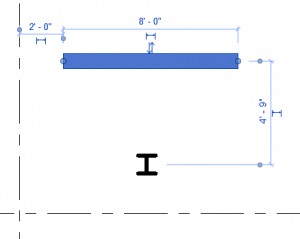
When selecting an element, beginners are taught that the little blue dimensions that appear are temporary dimensions. Unfortunately the temporary dimensions do not always show dimensions between the elements we would like. To change this, grab the little blue dot and drag it to change the witness line. In addition, for some elements such as walls and columns, clicking on the grip will cause the dimension to cycle from face, to centerline, to the other face.
Here are two bonus tips about temporary dimensions: First, in the graphics tab of the Revit options in the application menu (the big R), the size and opacity of the temporary dimension text can be edited. If it is too small or is being obscured, simply change the options.
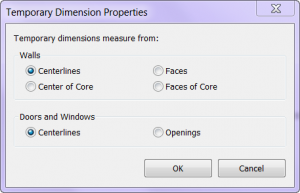
The second bonus tip is that the default locations of temporary dimensions can be changed under Manage Tab: Additional Settings: Temporary Dimensions. This is useful if a user would prefer always to dimension wall faces and/or opening widths instead of their centerlines.


