A question came up in the Linkd In Group for Club Revit about creating a single roof with a gable end that would basically go underneath itself to attach back to a wall. I thought I would do a post to my simple response, so that I can get a bit more detailed in the explanation.
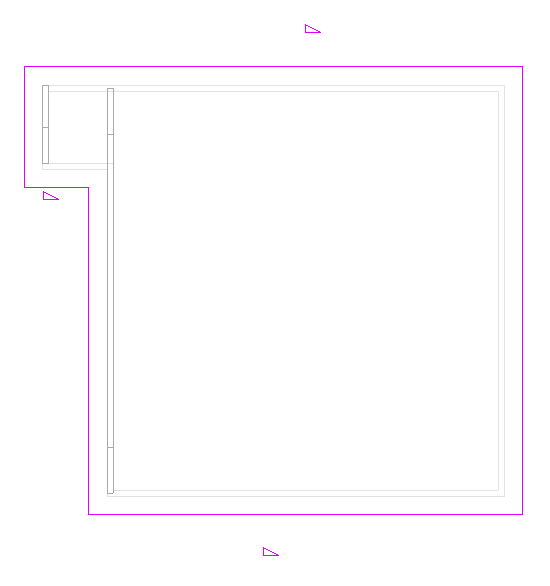
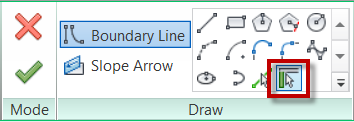
The first step is to create a roof by footprint, personally I would use the Pick Walls tool for this situation. Uncheck the defines slope option to get the gable ends as needed. Finish the roof when done
This doesn’t alone dosen’t get the small gable end roof to come back under itself to attach to the wall. It also doesn’t automatically take the walls up to the roof.
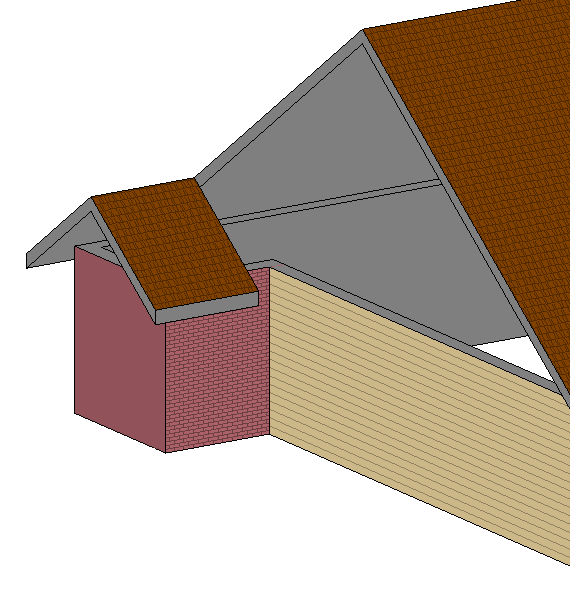
I chose to model another wall above the other and make it the full length of the roof, and then attach that wall to the roof. This way I have something to Join the roof to.
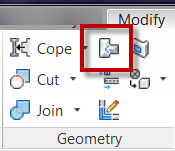
The next step is to use the Roof Join/Unjoin command located on the Geometry panel of the Modify Tab on the ribbon.
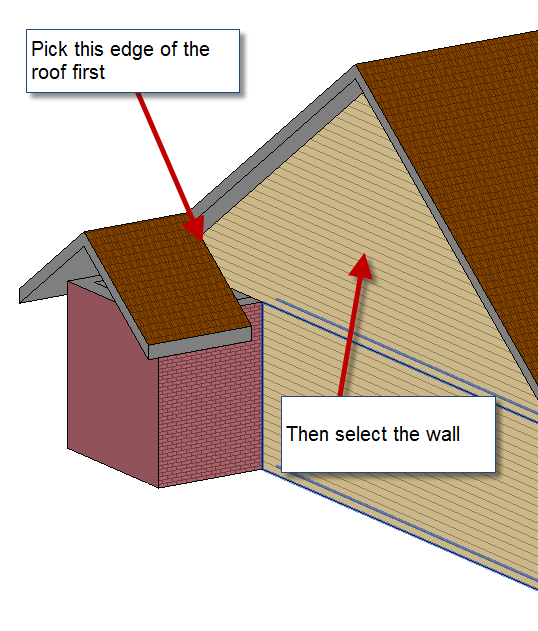
Pick on the edge of the roof that needs to Join to the wall and then pick on the wall.
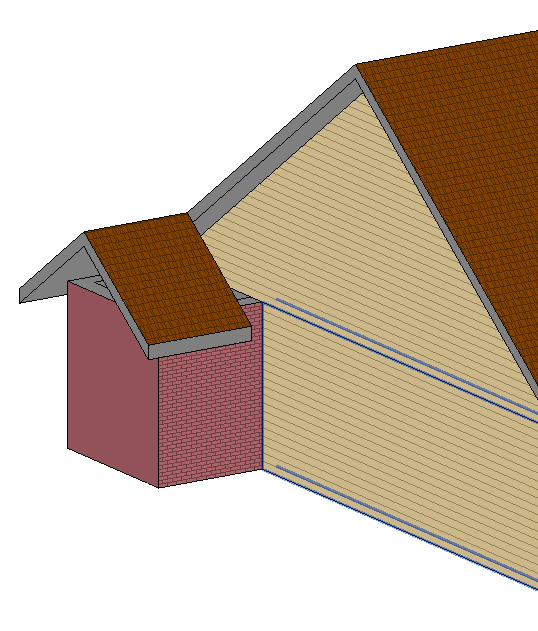
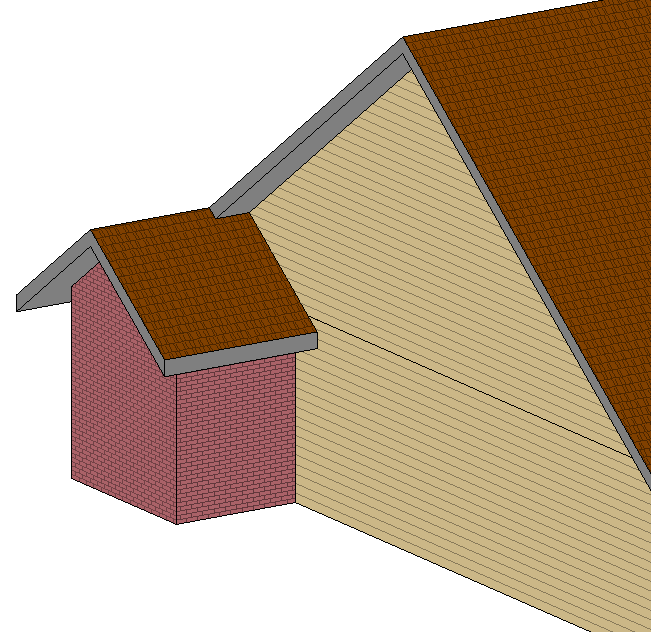
This will be the completed result. Now just go in and add all the detail like soffits, fascias and gutters.

Thank for the great tip. It’s easy to forget that you can connect roofs to walls when the icon shows a roof to roof connection.